RAM expansion for Atari Portfolio
UPDATE [2020/04/12]:
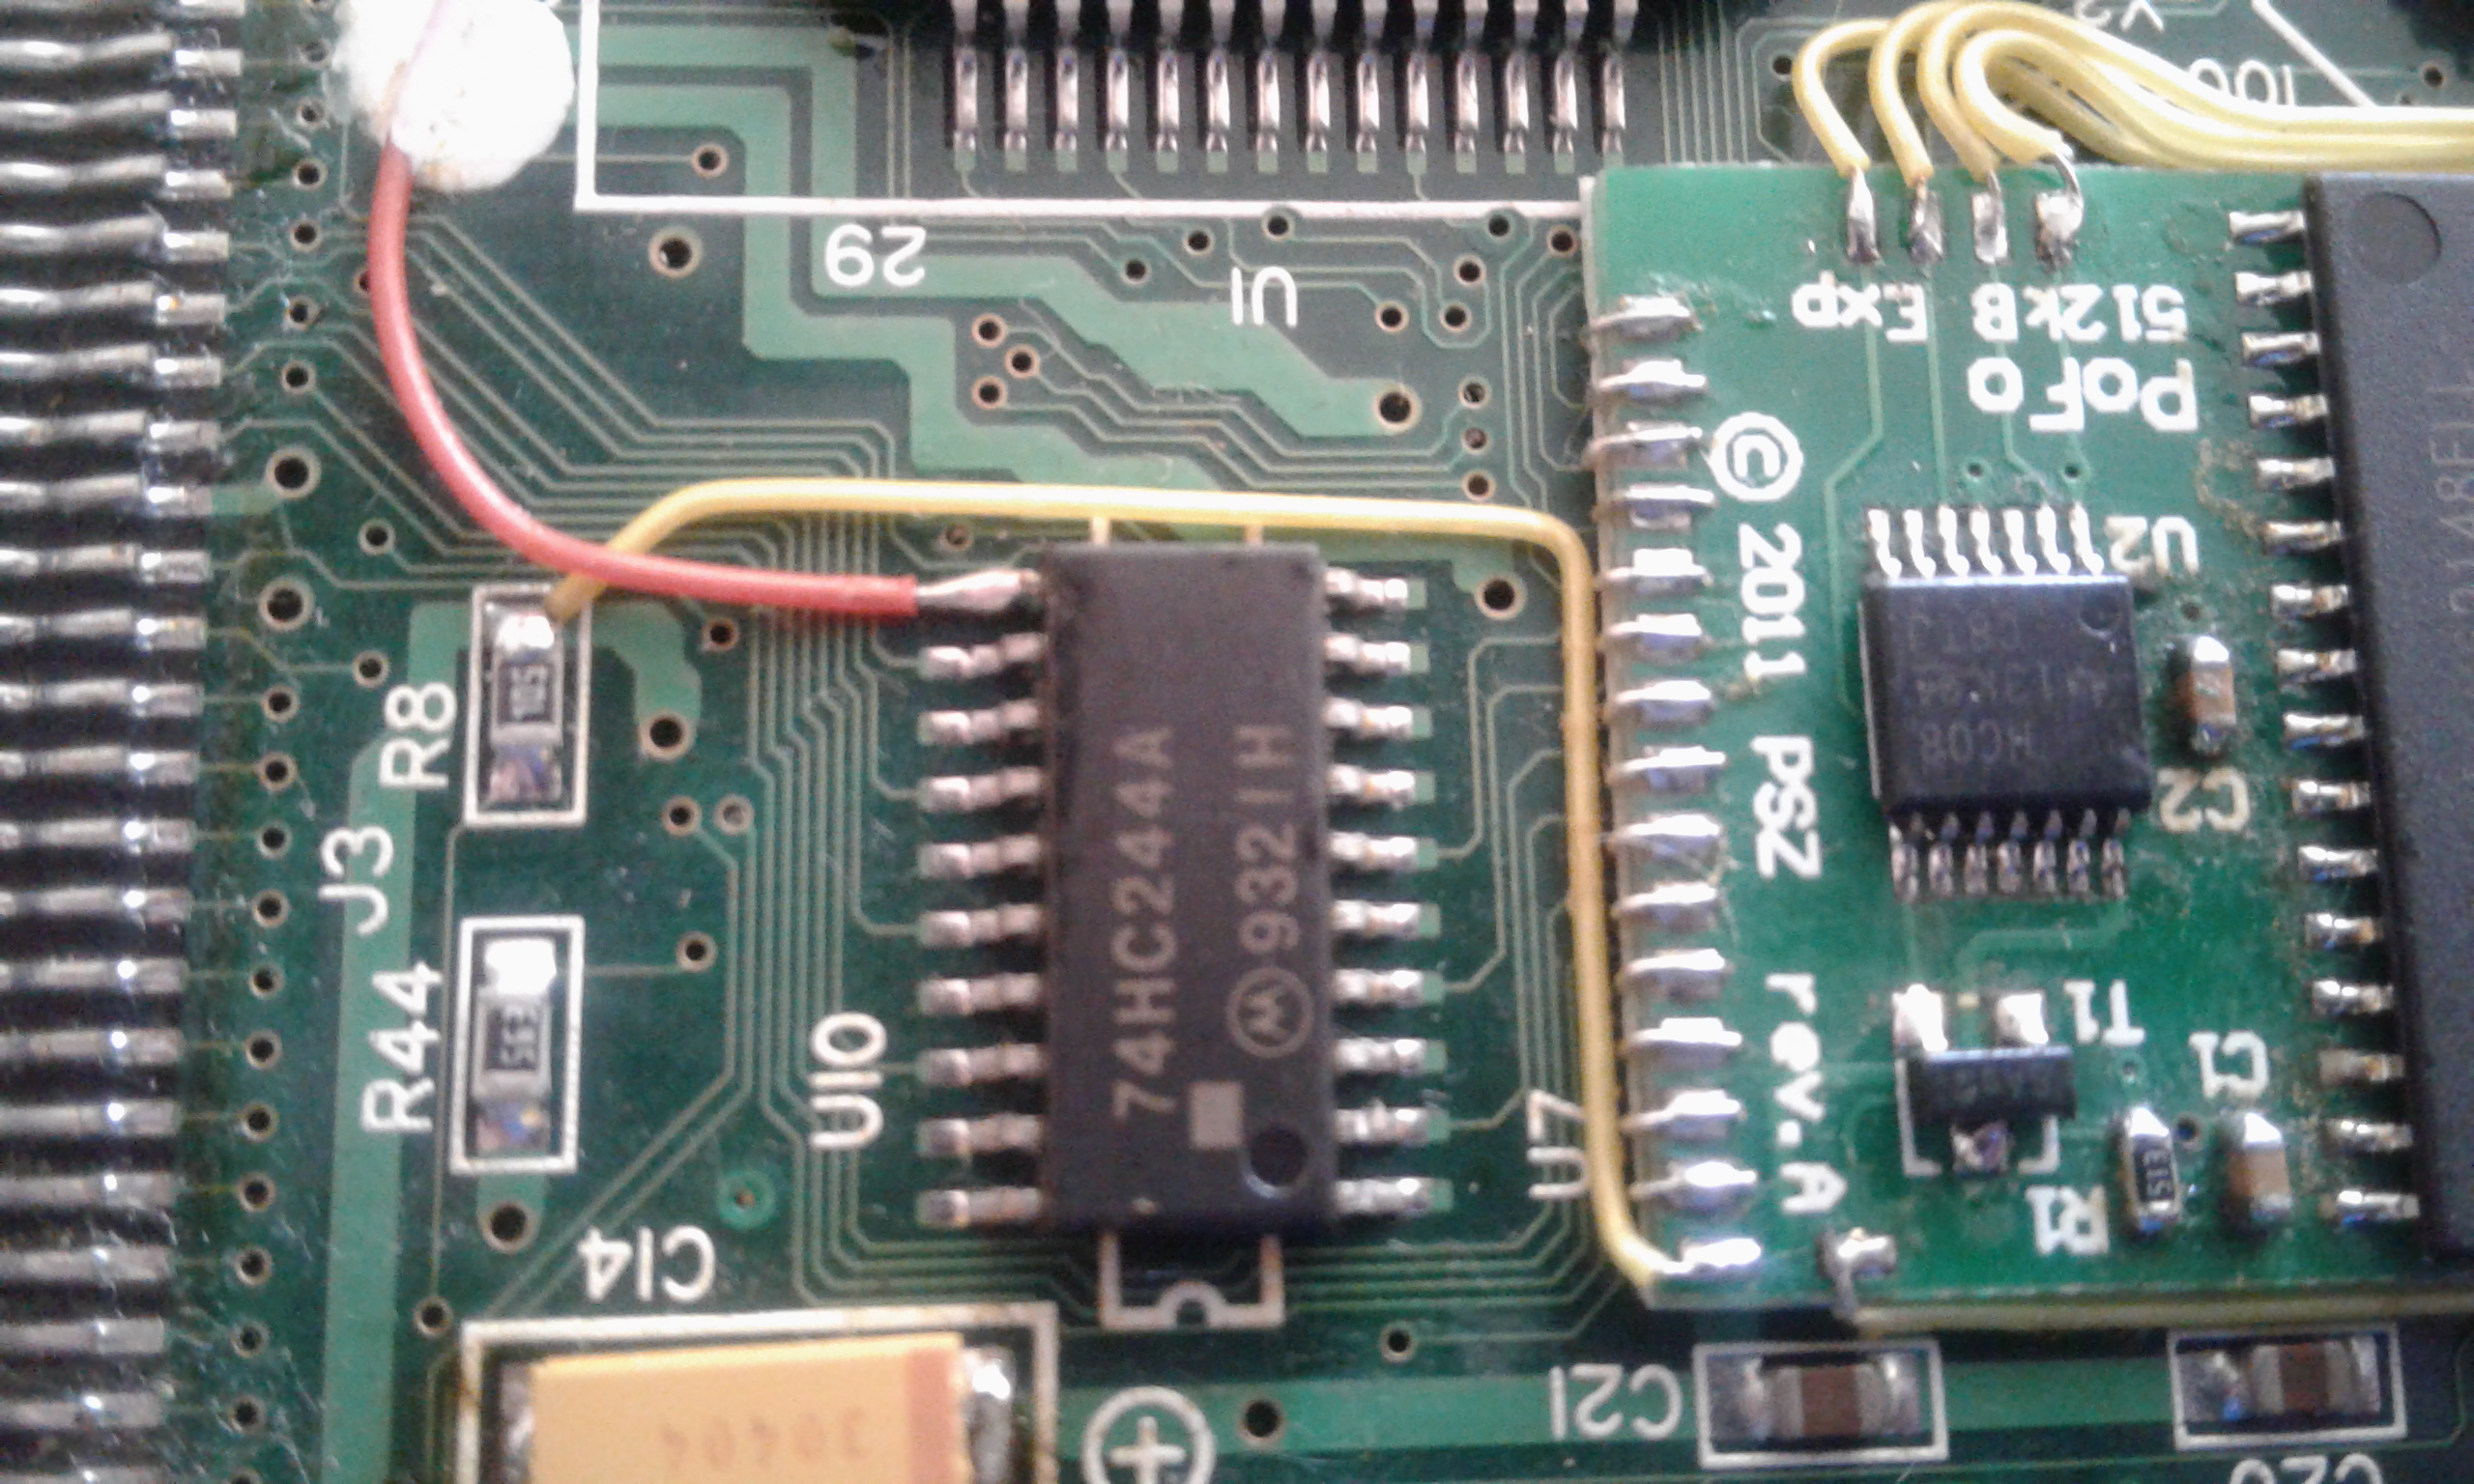
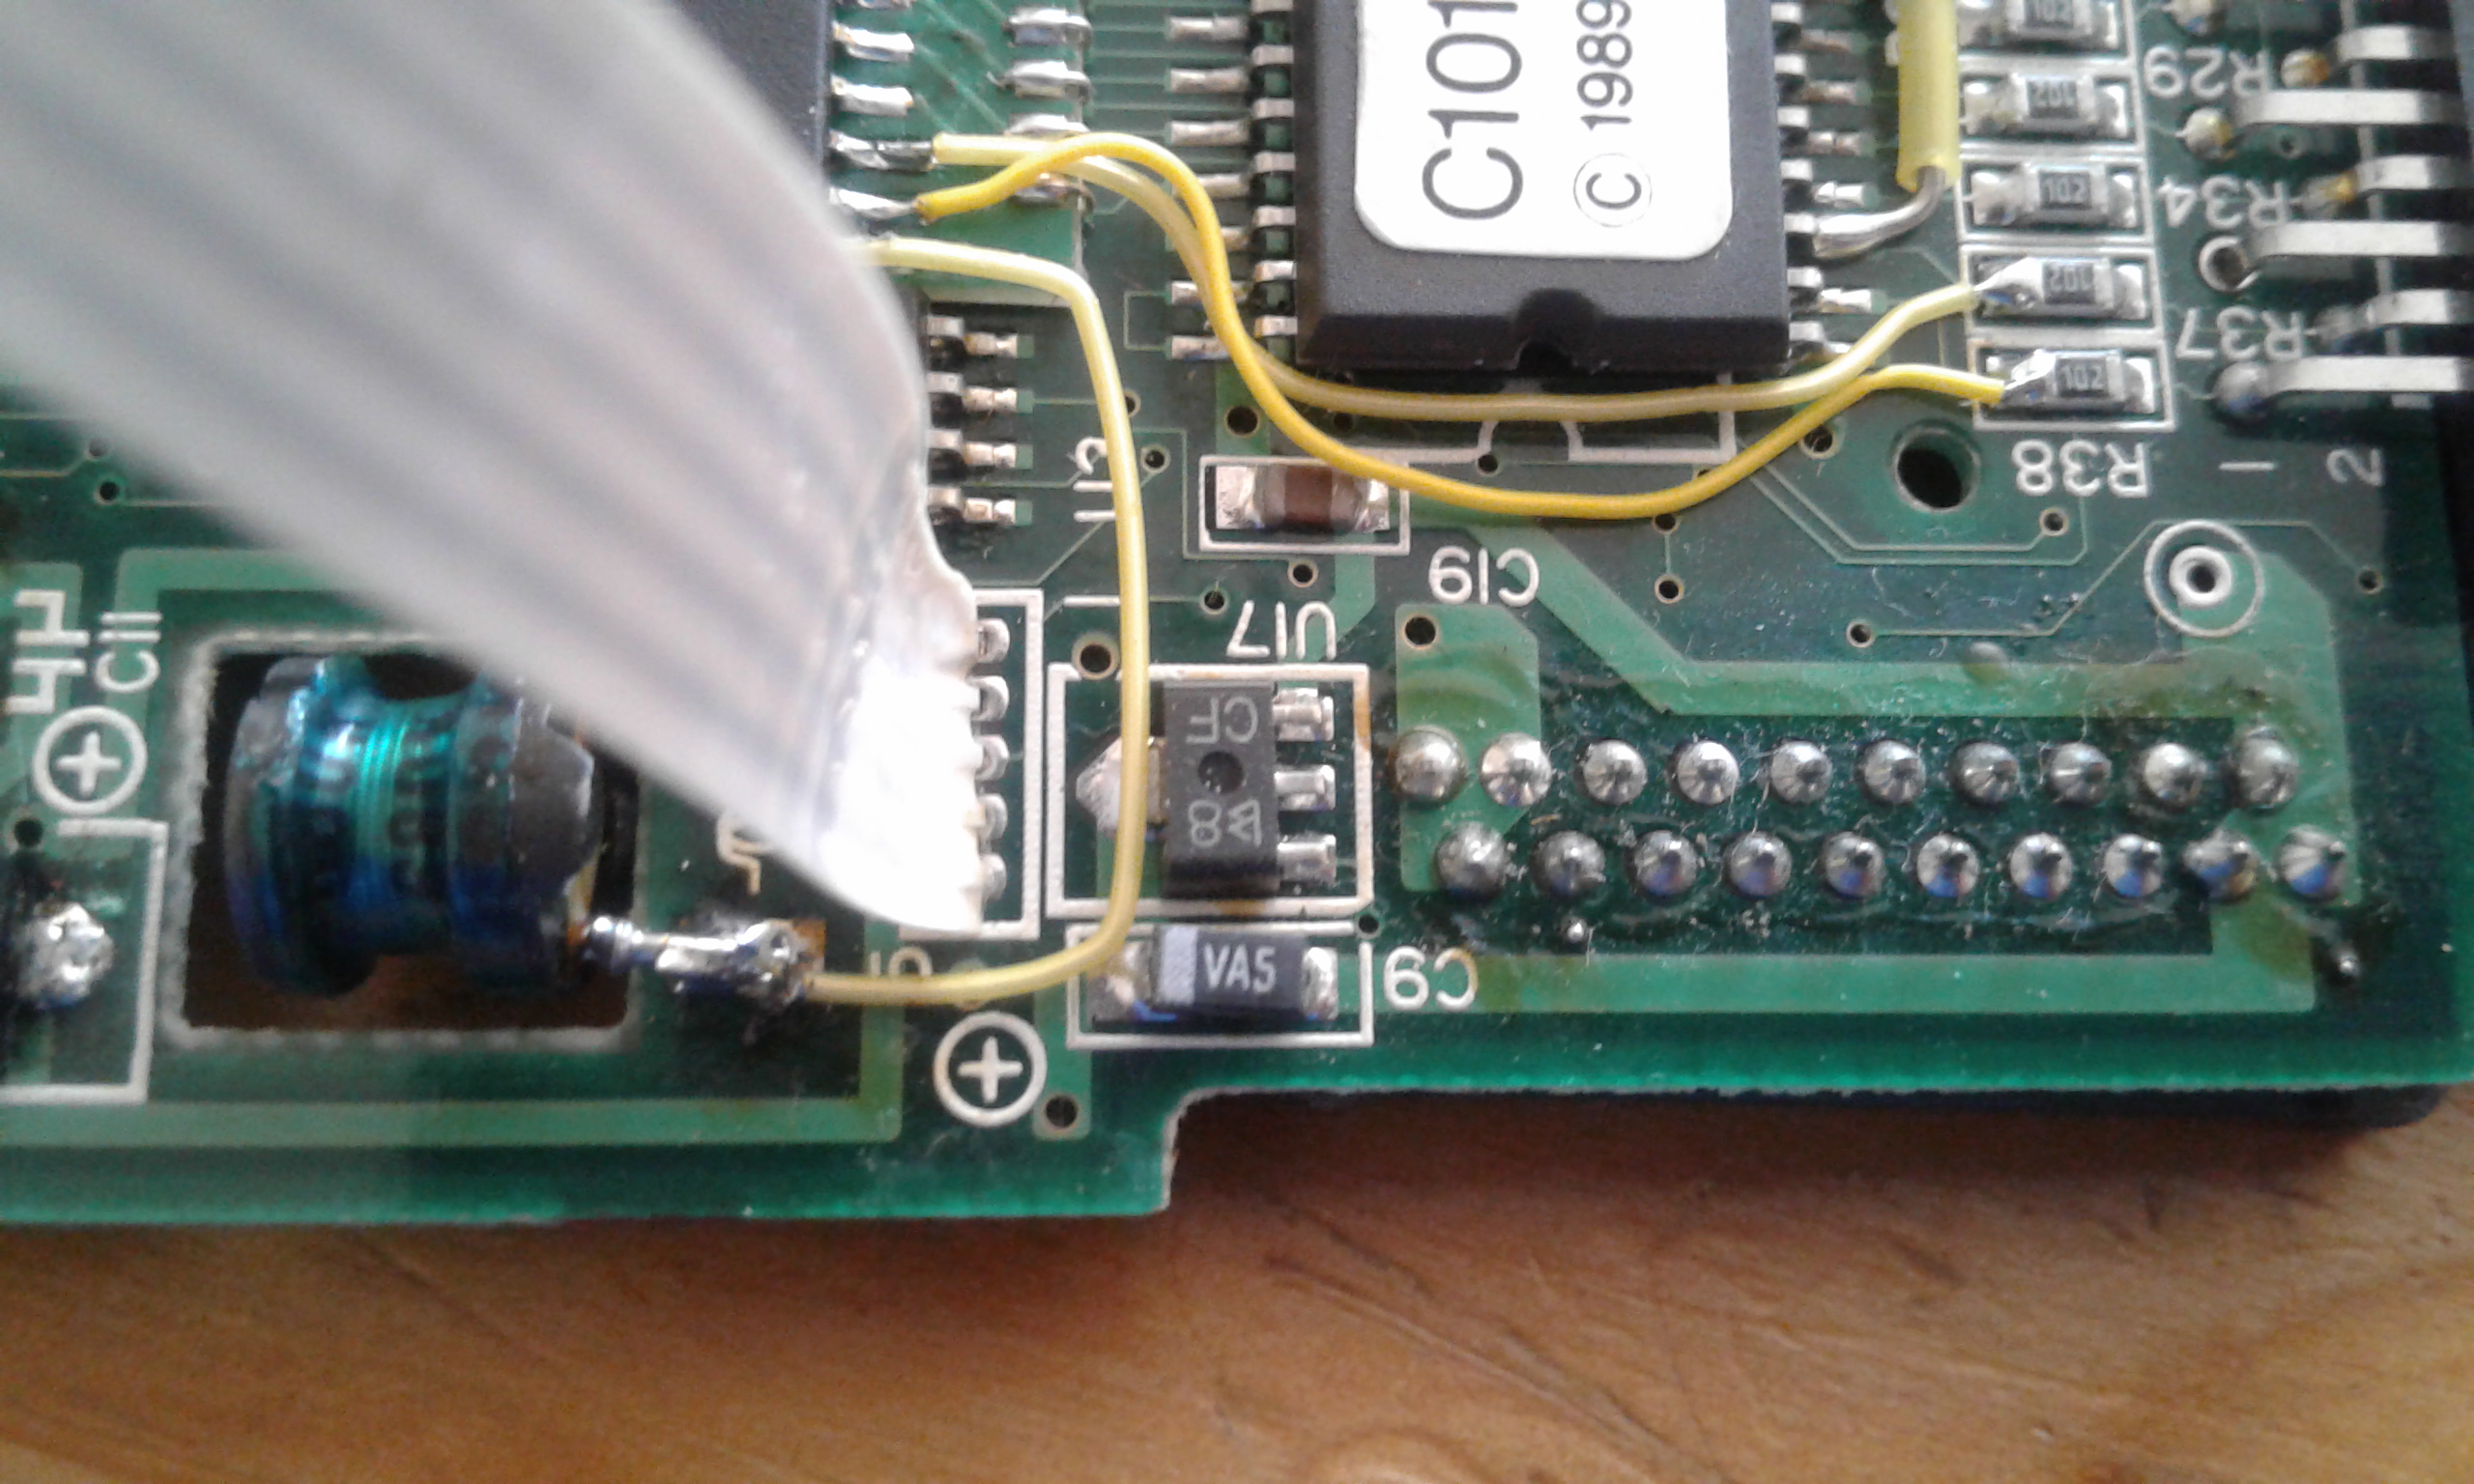
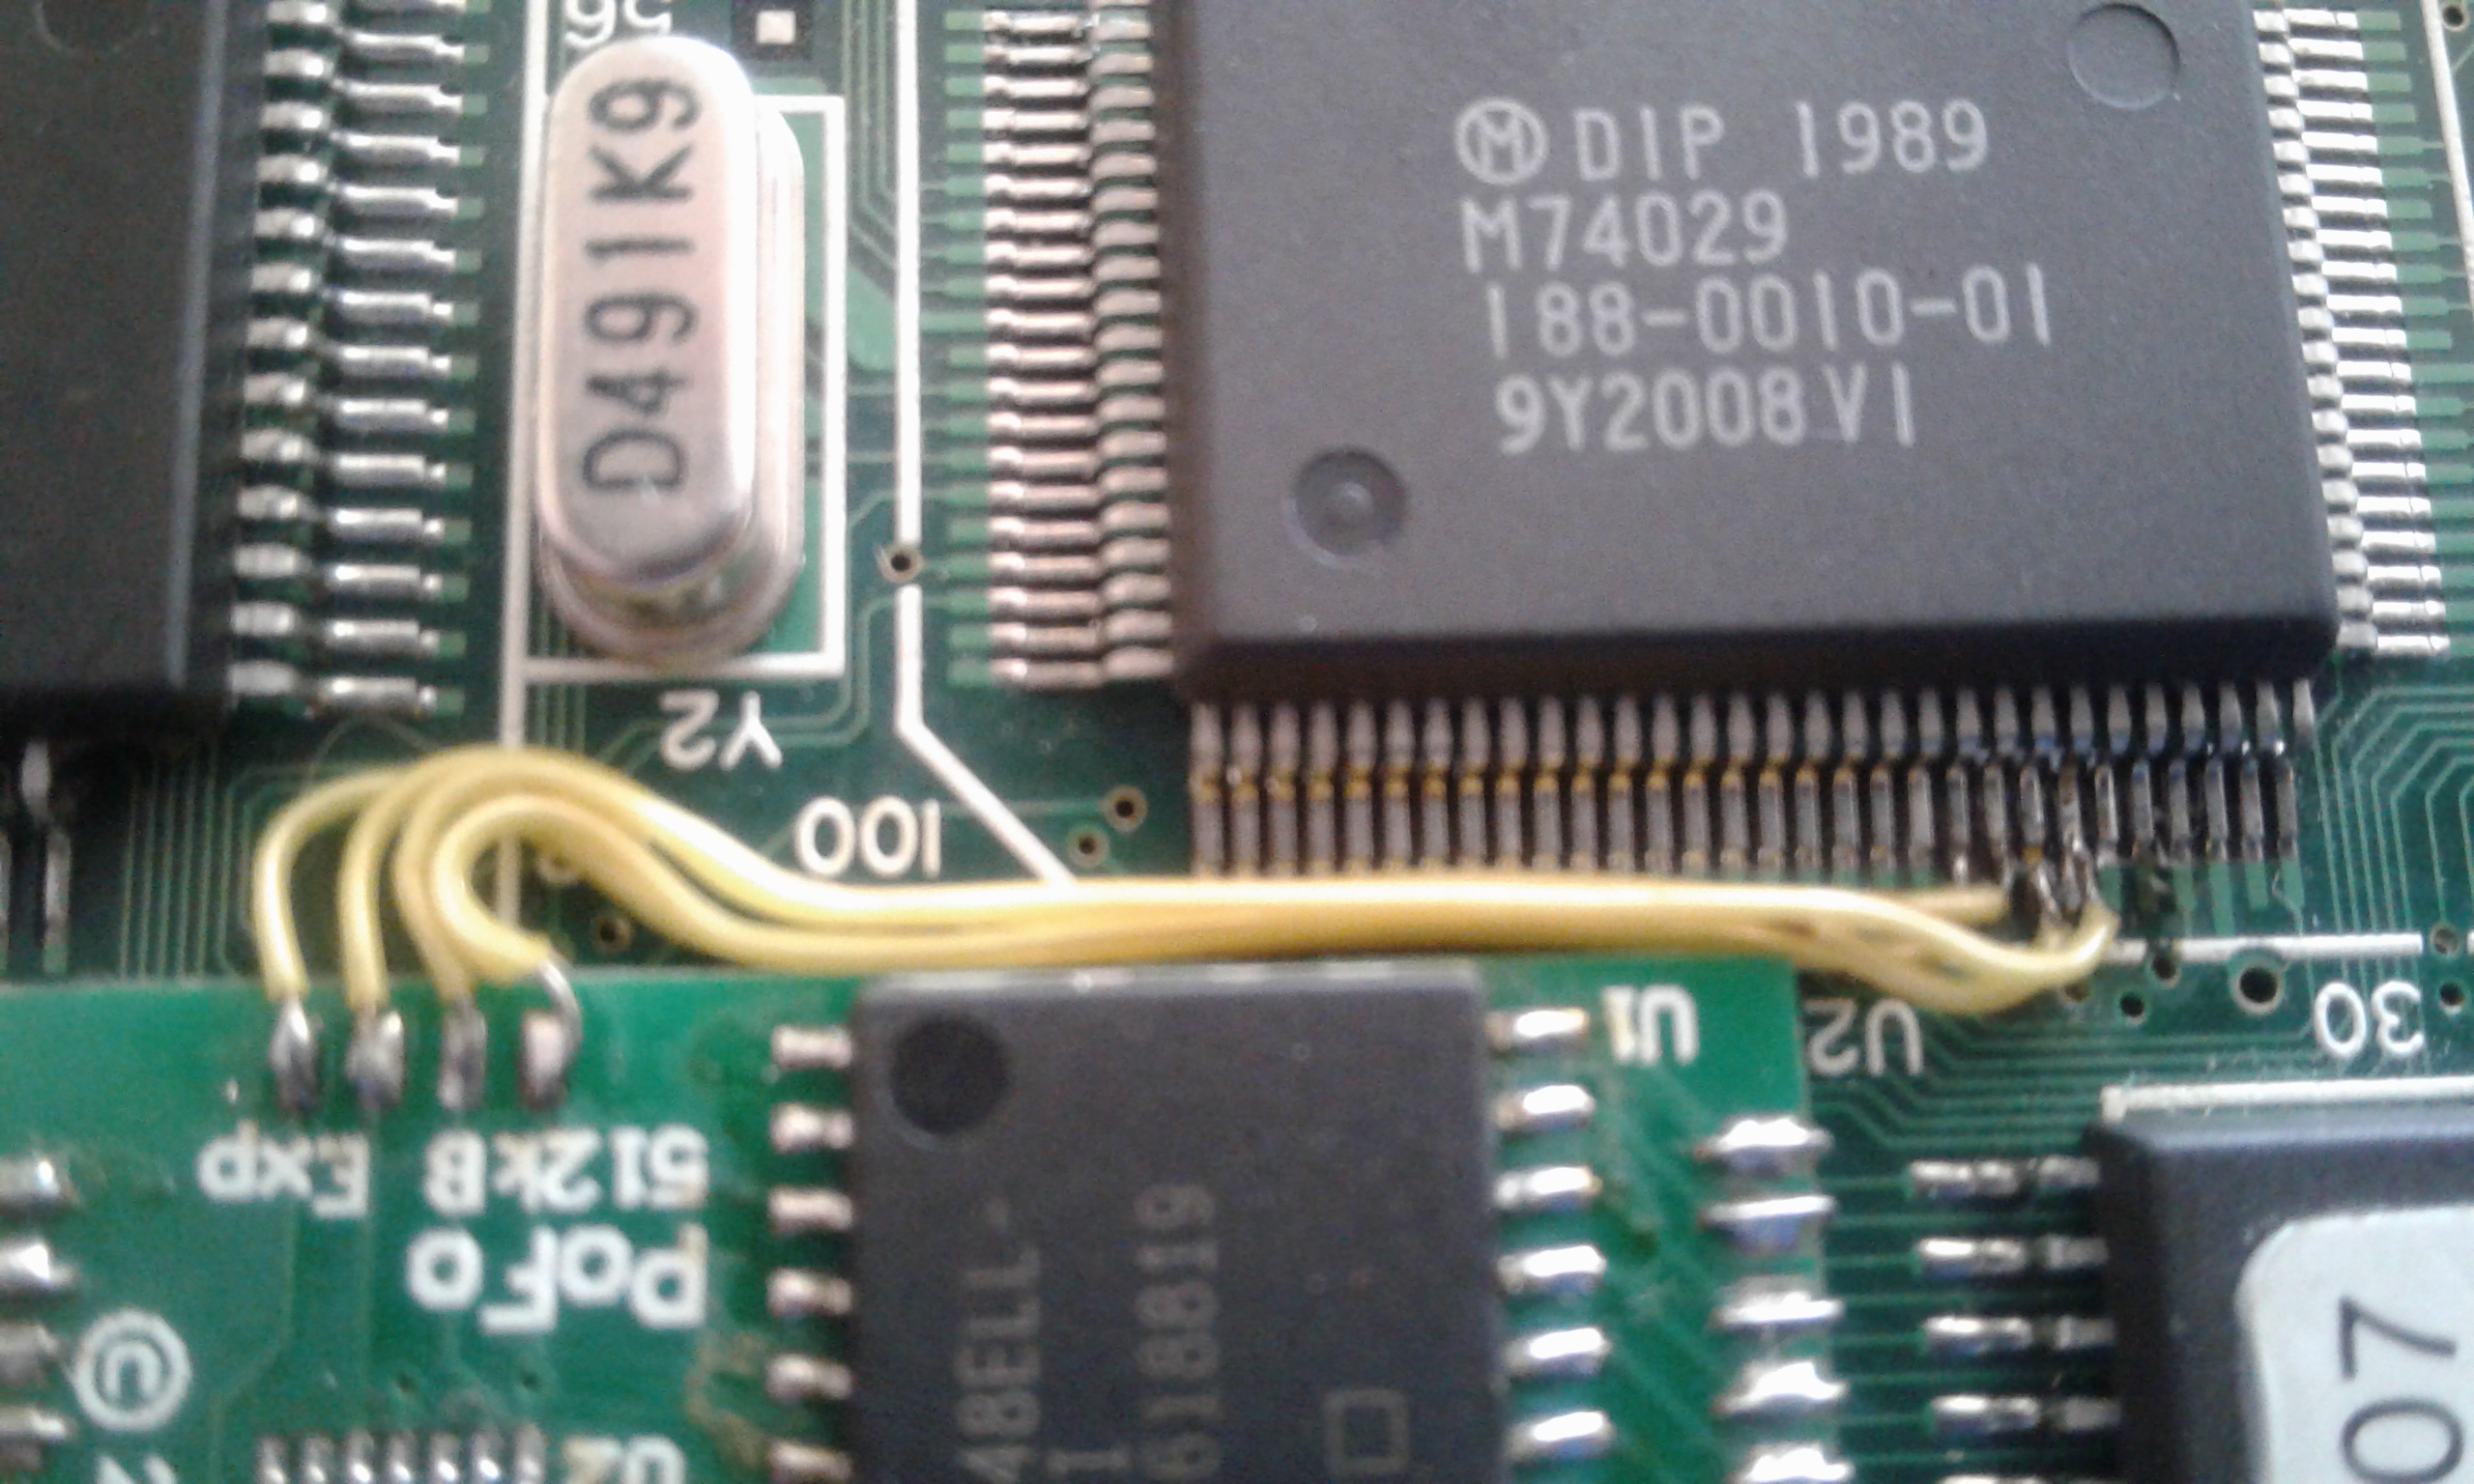
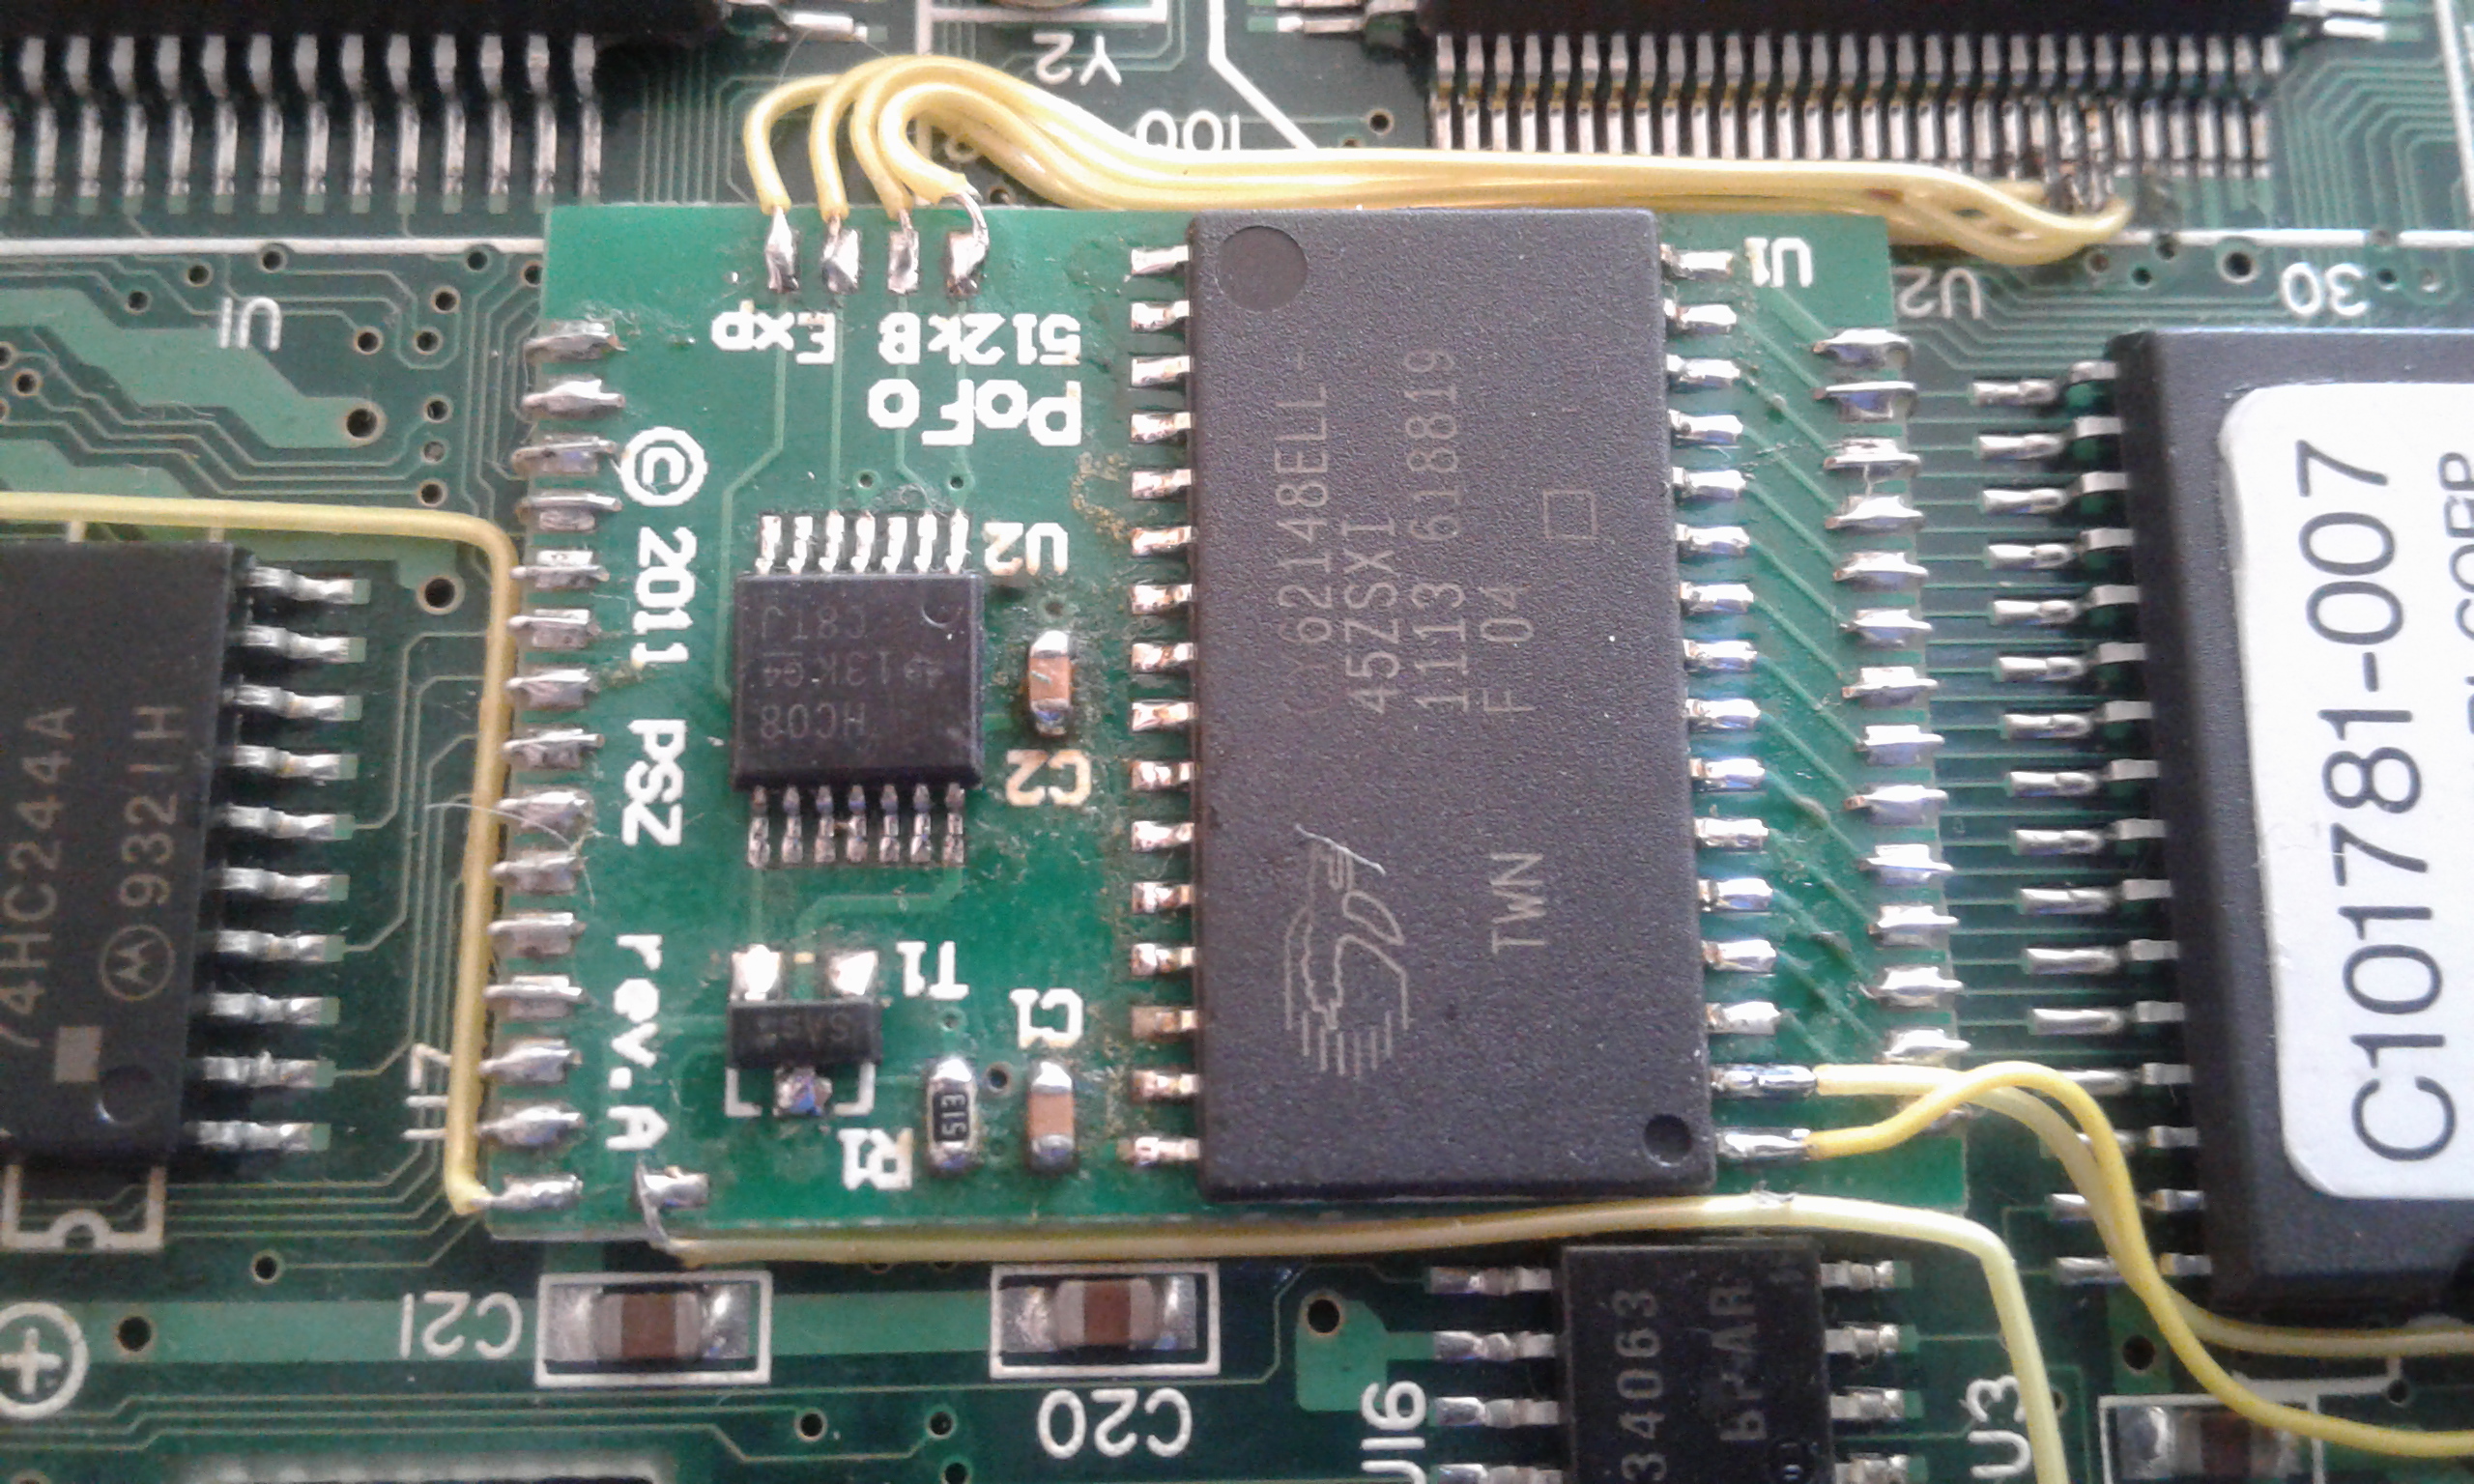
By popular demand, I decided to take more detailed photos of the expansion board and post them here. The author is (apparently) unreachable, and I don't have any schematics or technical knowledge of the circuit, so please, don't ask me about it. I won't be able to help.
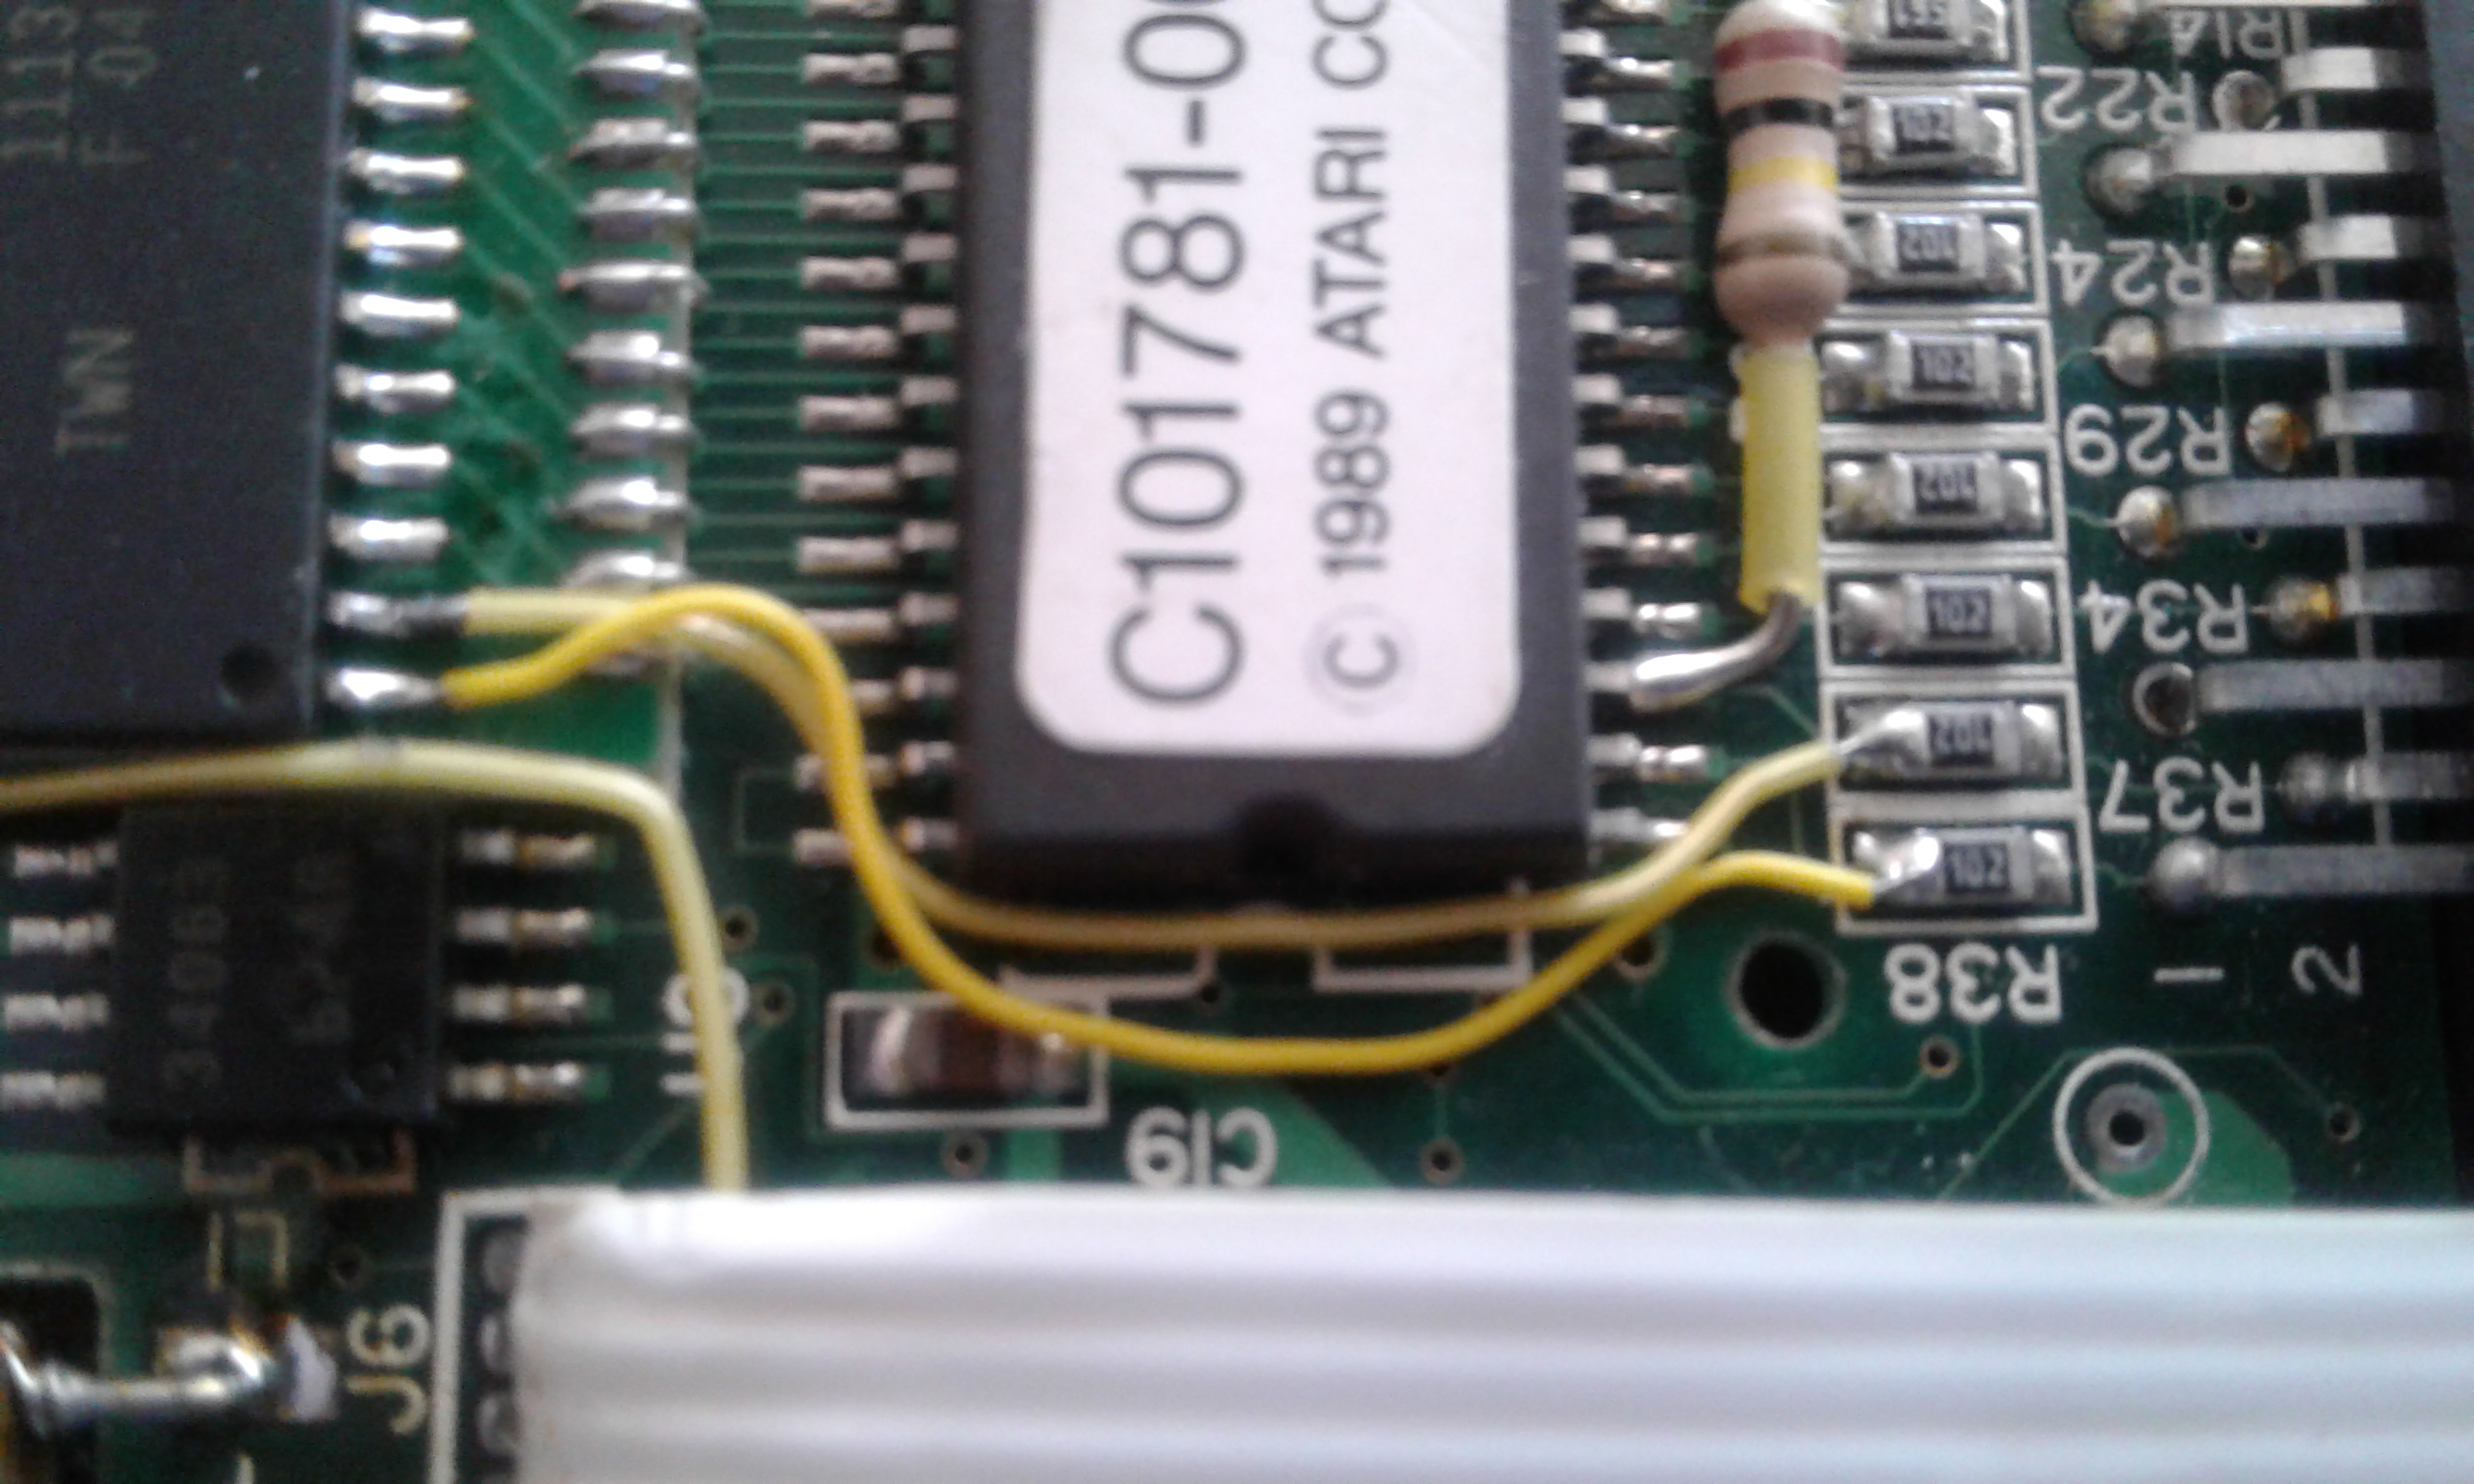
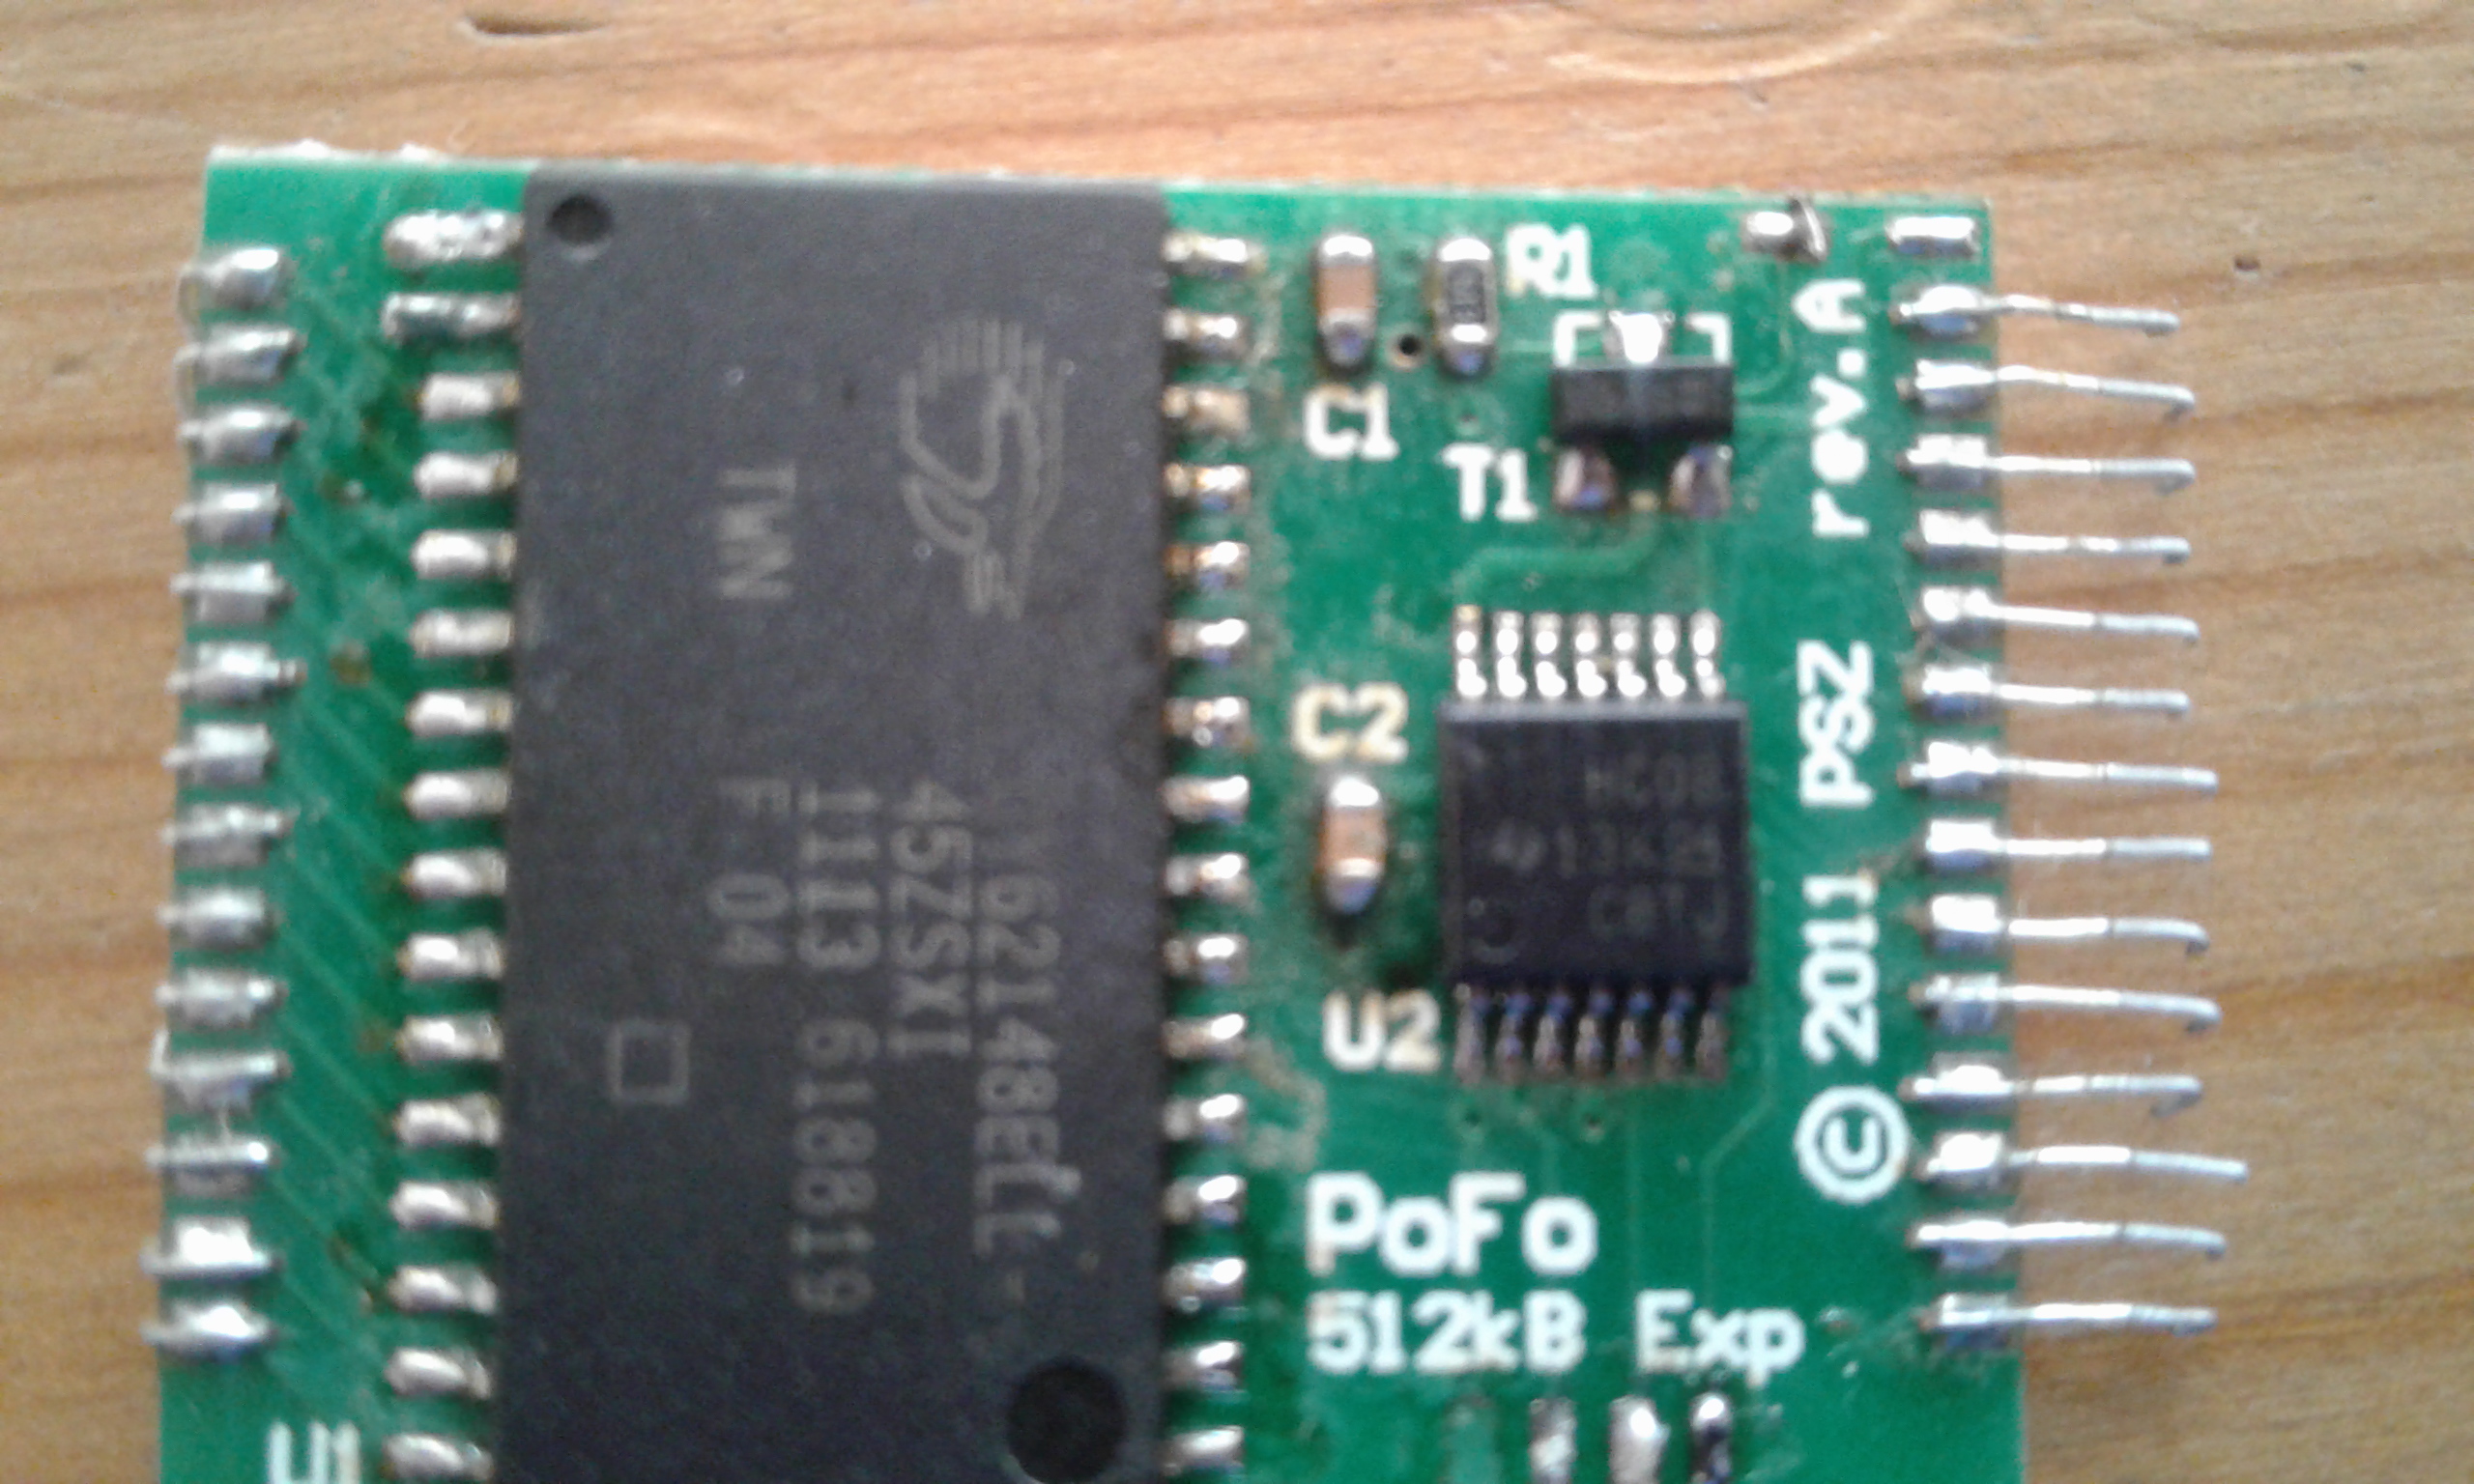
The original RAM (U5-U8) has been removed. The board is one-sided; the numbers on the two chips are as follows:
CY62148ELL-
45ZSXI
1113 618819
F04
HC08
13KG4
C8TJ
It's been a long time since I wrote here. SillyVenture 2k11 is over and I was there, but had no time to write even a short report. Today I promised myself to write a post, that has been waiting in a queue for long.
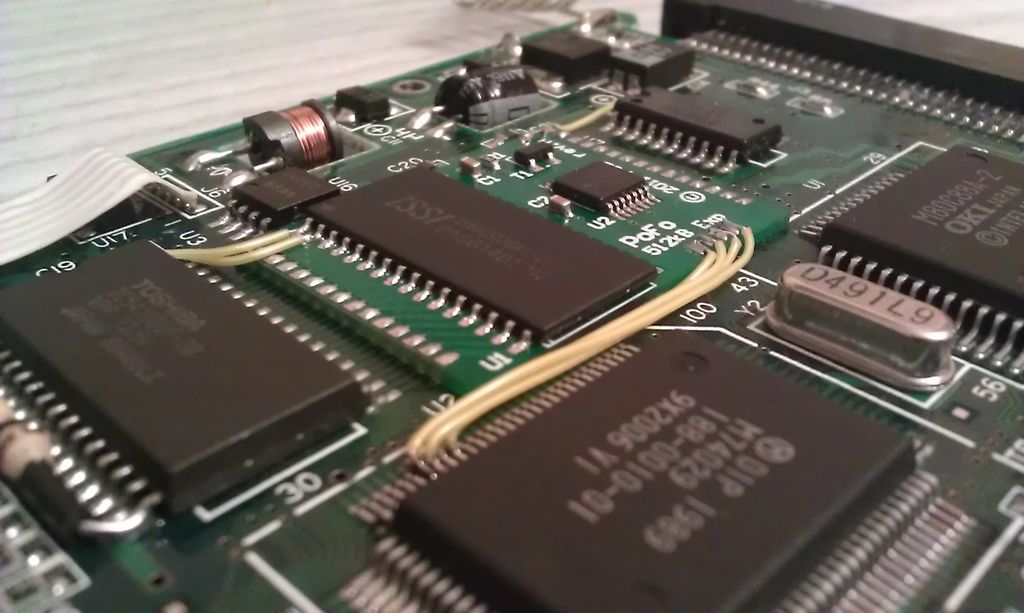
RAM expansion. The must-have mod if you want to use something else than the built-in software on your Portfolio.
Already in the 1989 128k was too little. With 4 kilobytes taken by display RAM, at least 8 KB used as ramdisk and some memory used by system (depending on FILES and BUFFERS settings in CONFIG.SYS), less than 100k was available for the program. With 40-kb ramdisk (absolute minimum when you wanted to upload some software) you were left with no more than 60 kilobytes. RAM expansions appeared soon after Portfolio, the first ones being large, uncomfortable interfaces mounted to the expansion bus. Early mods built in the Portfolio were two times the price of the computer. As years were passing by, more and more sophisticated solutions were emerging for affordable prices - both commercial and fan-made.
In the 2000s, with the twilight of Atari Portfolio, RAM expansions have become extremely hard - if not impossible - to acquire. This makes the computer virtually useless for any applications but using the built-in software, especially for coding. It was clear for Maestr0 - a talented constructor who decided to create a new 512 KB built-in RAM expansion for Atari Portfolio.

Apart from expanding my Pofo's RAM, Maestr0 replaced the capacitors, making my computer run 10 minutes without batteries!
Maestr0's construction includes a small PCB mounted on the Portfolio's mainboard. It's intended to be as cheap as possible and easy to assemble. When the author decides to release it, I'll inform you about pricing, shipping conditions and how to purchase.